Switching out vape coils is a key ability for vapers since these components are essential to achieve the correct taste and produce vapor. Let’s explore the realm of vape coils and learn about the timing and process for changing them.
The Function of a Vape Coil
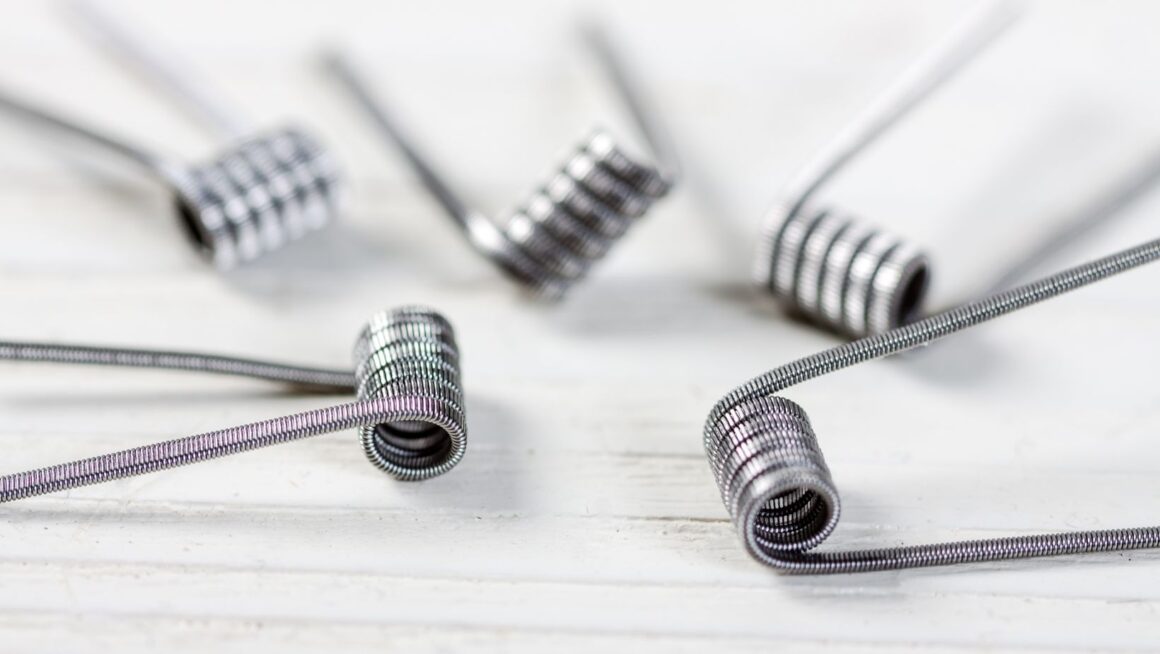
The part is called the vape coil; sometimes people say atomizer or heating element, too; this is the thing in your device that makes it turn liquid into vapor. It’s often a metal wire and can be made of different stuff like kanthal – that’s iron mixed with chromium and aluminum – or could be stainless steel, or maybe nichrome, which has nickel with chromium together. The metal string is twined around a piece of cotton. When this coil gets hot, it makes the liquid for vaping soak into the cotton and change into mist. This process delivers the flavorful vapor you enjoy while vaping.
Signs It’s Time to Change Your Coil
It is essential to know when you must replace your coil. Indicators that suggest this need include a taste that is burnt, reduced vapor output and the e-liquid becoming a darker shade. When such events occur, it may be the appropriate moment to replace your coil. Frequent vapers may require more regular coil changes, while infrequent users might notice their coils endure for an extended period.
How Often to Change Your Coil
The frequency of coil replacement is influenced by factors such as the type of e-liquid utilized and the amount of vaping one engages in. Individuals who vape frequently might find themselves needing to replace their coils every week or fortnight, whereas moderate vapers could change theirs every two to three weeks. If you prefer the simplicity of a disposable option, the raz dc25000 could be an alternative, eliminating the need for coil changes. theirs every two to three weeks.
It is very important to watch how your coil is working and change it when needed so you can keep the taste and amount of vapor at a good level.
Choosing the Right Coil for Your Device
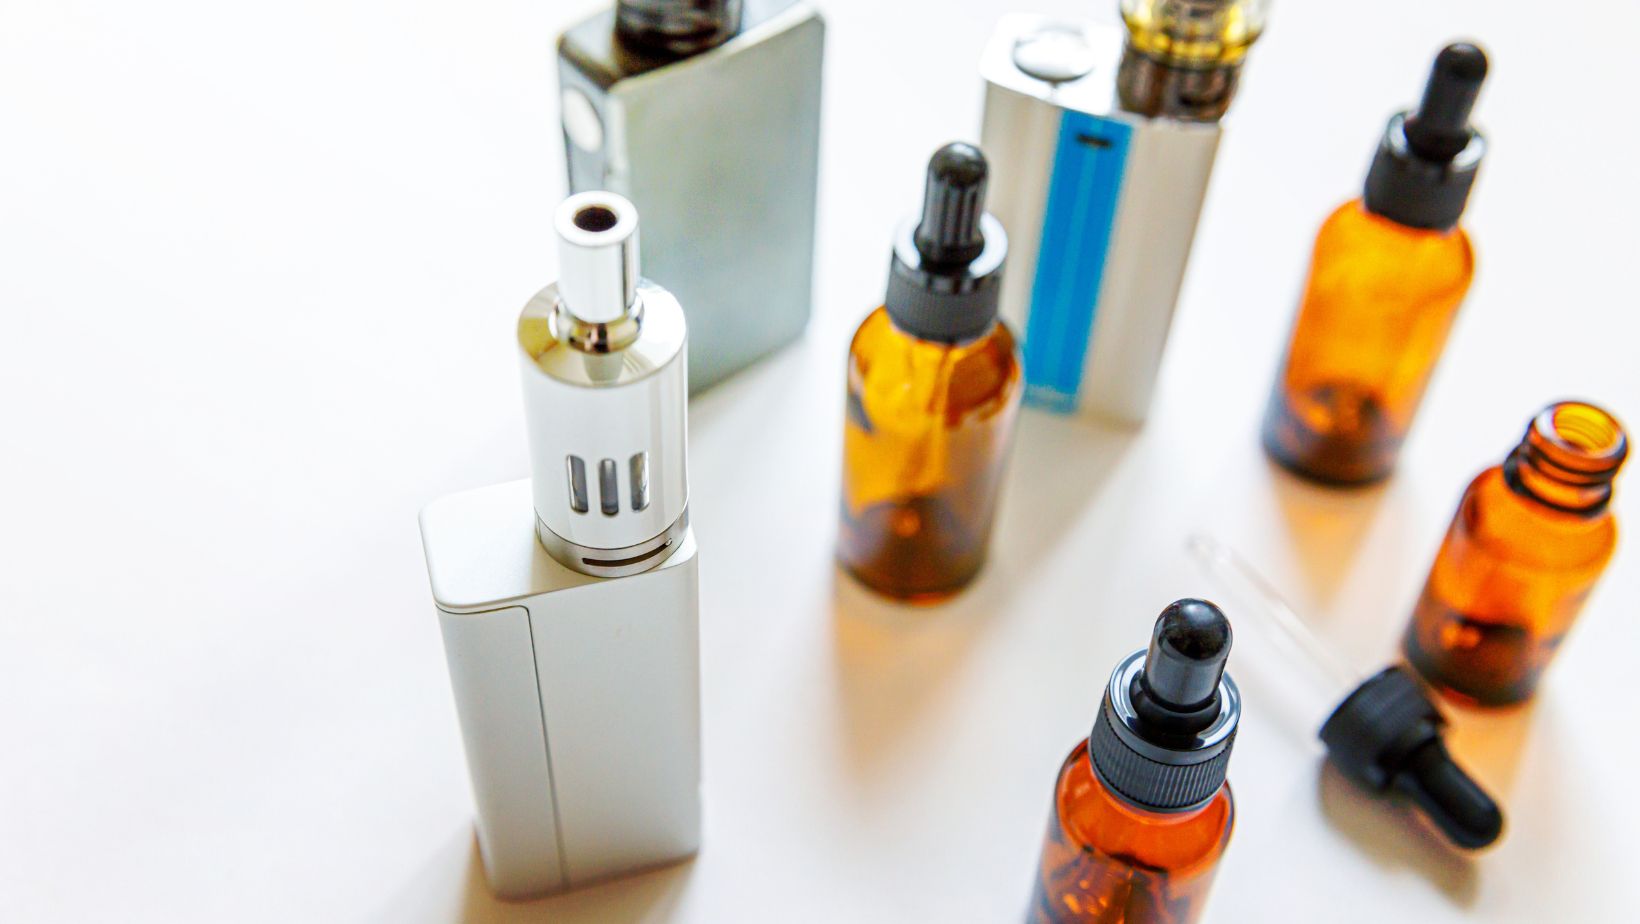
Select a replacement coil that matches with your device, review the user manual of your vape or inquire from your local vape store for suggestions. Coils have various resistance levels and are made for different vaping styles such as direct-to-lung or mouth-to-lung vaping.
How to Change Your Vape Coil
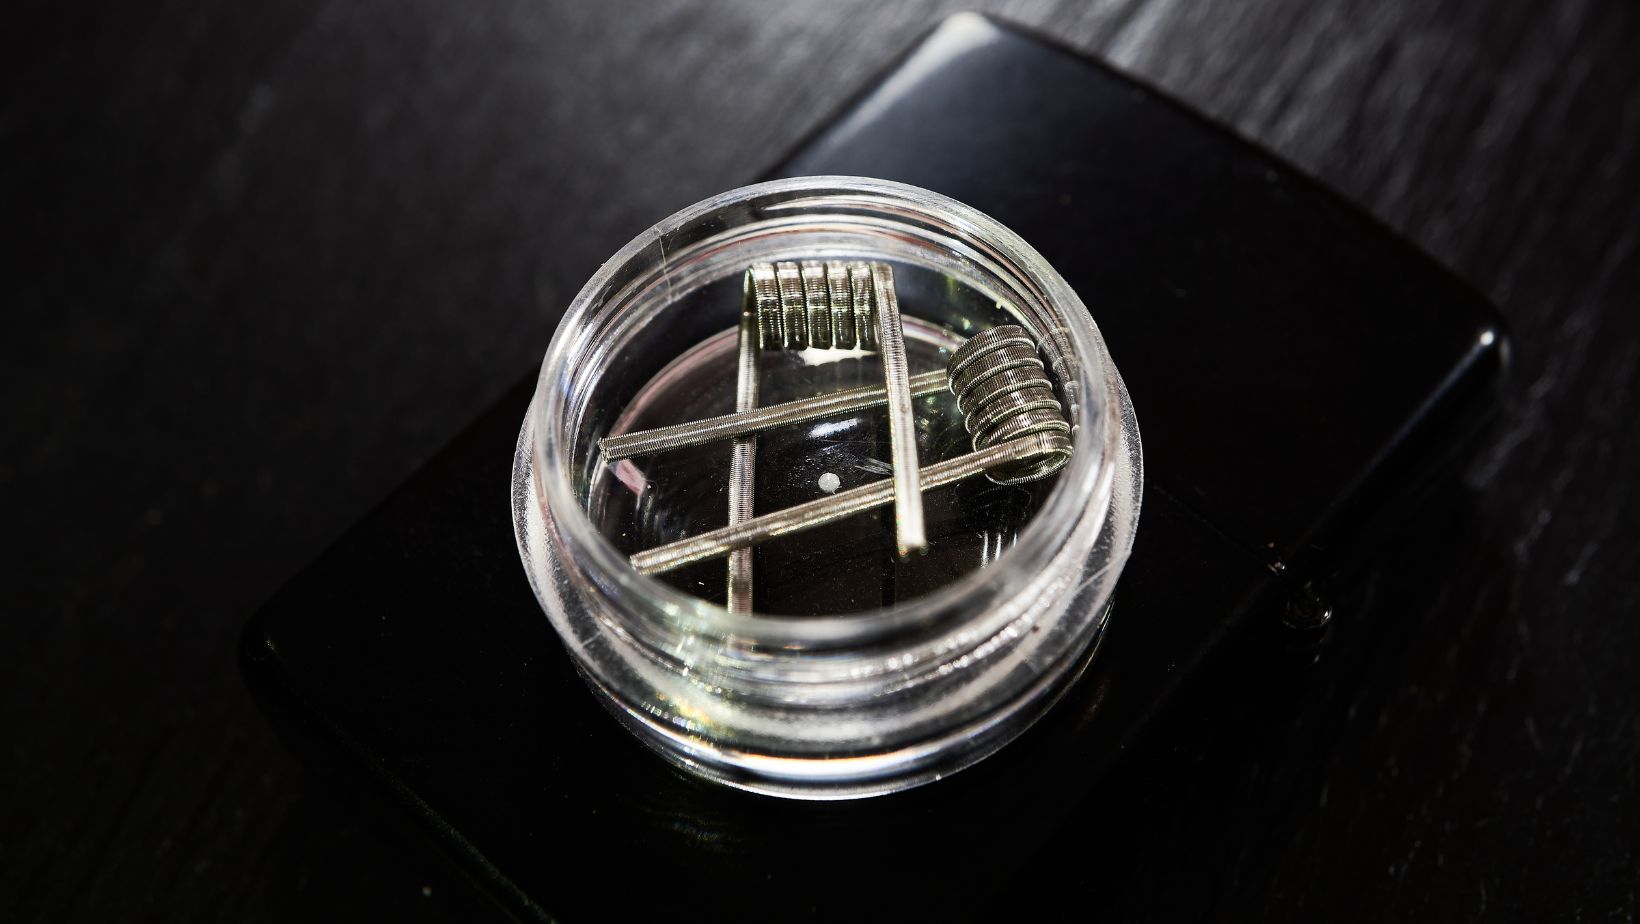
Take apart your device and take off the tank. Get rid of the old coil by unscrewing it from the bottom part of the tank. Then, insert the new coil and twist it to ensure it is in place. Before you put your device back together, prepare the fresh coil by putting some drops of e-liquid on the wick. Put all parts together again, pour e-liquid into the tank, and let the coil sit for some minutes to get full saturation.
Priming Your Coil for Optimal Performance
To avoid dry hits and make your new coil last longer, it’s important to start by priming the coil. You can do this by putting some drops of e-liquid on the cotton wick in the coil.
This helps the coil soak up e-liquid quickly and lessens the chances of burning cotton when you begin vaping for the first time. Once the coil is primed, reassemble your device and fill the tank.
Proper Maintenance for Longevity
Caring for your coils helps them last longer and enhances how you enjoy vaping. Many users also look for the safest vape brands to ensure their coils and devices operate reliably and produce cleaner vapor. Clean the tank often and substitute old coils, doing this can stop accumulation of dirt to keep the vapor good in quality. Do not use too much sweet or thick e-liquids as they may cause faster gunking up of your coil.
Recognize the importance of changing vape coils to ensure a pleasant vaping experience. Look for indications that your coil needs replacement, and remember to prepare your new coil by priming it. If there is ever a doubt about which coil is suitable for your device, ask for guidance from a nearby vape store.
Conclusion
To sum up, R\regular use can cause vape coils, which heat the e-liquid to produce vapor, to deteriorate with time. Your vaping experience can stay smooth and enjoyable with routine maintenance and timely coil replacement. Nicotine Vapes Australia can guide you on How and When to Replace Vape Coils. Also, for optimal results, always use premium replacement coils that are suitable with your vape model.